
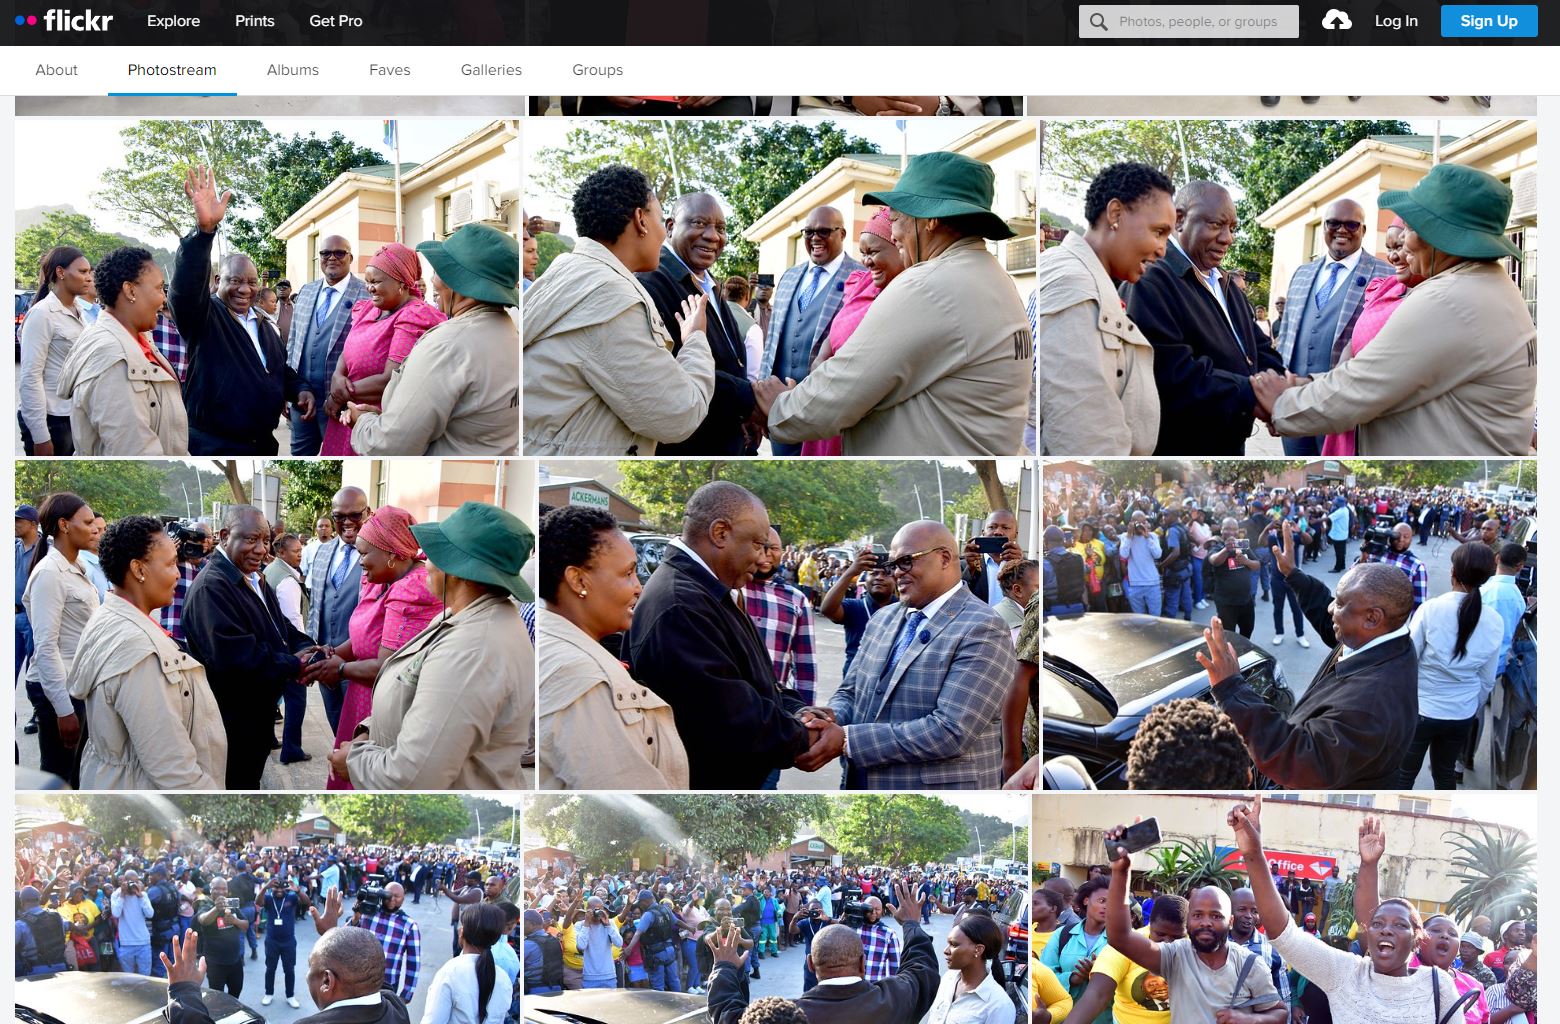

While scouring through South African Government websites looking for information about public holidays, I discovered that our government has a Flickr account. And a pretty active one at that: 10-30 photos every 2nd day or so. High quality professional grade photography too. I very quickly had an idea: what if I could make my desktop wallpaper a new photo from this Flickr account every day? Or any Flickr account for that matter.
My initial plan
I clicked around on a few <img> tags and quickly realised Flickr does not have a stable URL pointing to the latest image of a user. I was going to have to hack things to always display the latest image.
My first idea was to write a shell script that runs on boot, fetches the latest image from the Flickr page, places it in a specific wallpaper directory, and have the desktop manager pick it up and display it from that folder. There are a few issues with this approach:
- The shell script needs internet access and if my PC doesn't have working internet on boot, the photo will never get loaded. At least not without writing some cumbersome retrying logic (and as you'll soon see, the image-fetching logic is complicated enough on its own).
- The shell script is ephemeral. If my local drive crashes, that script is gone. Naive attempts at backing it up (eg copying it to an external cloud provider) means the script can easily get out of sync with your backup (eg if you later decide to improve on the script). You could try link up some desktop client for a cloud provider (eg Nextcloud, Google Drive, etc), but now you need to manage that client as well, and while technically manageable, it just feels like too flaky a solution for me.
- Maintaining the script isn't easy. What directory are you going to keep it in? What directory are you keeping photos in? How do you indicate to the OS that it must run on boot? How do you backup and restore it? Too much admin for my taste.
Getting a better understanding of the problem
I checked out the options for desktop apps that display web content as wallpapers, and was pleasantly surprised to see that there are some decent options out there that are actively maintained:
- Windows: X Live Wallpaper is forked from Lively Wallpaper (published under GPL3), adding on the ability to load and render web content.
- Mac: Plash (MIT License)
- Linux: Variety (GPL3)
- If you're a KDE user, its wallpaper engine has built-in support for some Flickr pages.
And so the foundation was set: I was going to build an HTTP endpoint that would serve a photo to one of these wonderful wallpaper apps. For hacky little web projects like this I love to use my self-hosted N8N instance, which makes it easy for me bootstrap programmable webhooks with a very usable web-based GUI, and so that's what I did.
Messing around with Flickr
Good news is that Flickr has a very well documented HTTP API, bad news is that even to access public photos you need to register for an API key. Normally this would be fine, but for some reason Flickr doesn't allow me to register, at all.

Anyway I wasn't really lus to battle with their support team about this, so just figured out a workaround:
I can be completely signed out and still view the SA Government's public photos. And the webpage is simply calling the Flickr API right? So surely there must be a solution here. Turns out there is one, but it's not very intuitive. The Flickr front end web pages do in fact call the Flickr API, but they use a particular API key:

"Aha!" I thought. "This must be the public all-access API key Flickr bakes into all web clients to make photos publicly accessible." 2EZ. Sadly, it was not this EZ. After messing around on N8N for a bit I started getting "API Key not found" errors from Flickr. I headed back to dev tools, reloaded the page, and found that the API key had indeed changed. And so it turns out Flickr rotates this public API key every so often to prevent evil hackers like me from using their public API keys for nefarious purposes such as displaying wallpapers ????.
After snooping around a bit I found this interesting part of the Flickr HTML, which is the source for the API Key used in further requests. (The expiration date is two lines below the key, but that's purely for sake of interest. I don't have the will to write a stateful caching system in my N8N workflow intended to solve a problem this small.)

Extracting this key dynamically requires only two little N8N nodes. One for making the HTTP request, and one for using a simple Regex to pick out the API key:


And now with the API key, it's a piece of cake of to use another HTTP node to fetch the latest photos from the Flickr API (screenshot on the left). This is an extract of the config properties from the HTTP node. All I need to do is specify the stuff I want (API method, user I'm looking up, number of photos I want, and the details I want about those photos). One thing that interests me in particular is called the url_o, which the full URL of the publicly-accessible original photo data (not cropped or downscaled or anything!).
Picking out a good photo
No ML, don't worry. One of the early iterations of this project, I had the workflow simply pick out the latest image. But not unlike much of what it does, our government is quite irregular with Flickr uploads. So that means a new wallpaper every 3 days or so, and in that time I have to look some ugly minister in the eyes every time I close some windows on my PC? No way that was gonna fly.
My next idea was to iterate backwards through the photos at 1 photo per day. So,
- On day 1 it picks the latest photo
- On day 2 it picks the second latest photo
- On day 3 it picks the third latest photo
- On day 4 new photos have been uploaded, and it picks the latest photo again.
But like I mentioned earlier I don't wanna keep track of state, so how can I write some funky maths to pick out a good photo? Here's my JS expression:
{{
diff_h = (new Date().getTime() - parseInt($json.photos.photo[0].dateupload)*1000)/(1000*60*60),
idx = Math.trunc(diff_h / 24),
$json["photos"]["photo"][idx]["url_o"]
}}
The first line calculates the number of hours since the latest photo was posted. It's simply the current epoch minus the epoch of when the photo was posted (available from the API). The second line calculates the photo index. That's simply the truncation of the hours divided by 24. So,
- <24 hours will truncate to 0 (the latest photo)
- 24-47 hours will truncate to 1 (the second latest photo)
- 48-71 hours will truncate to 2
- and so on
The third line simply returns the url_o of the photo indexed as calculated above.
Fitting the photo
This whole operation was working fine - I was seeing a new photo of something cool our government is doing every day. E.g., this gem:

But now I wasn't quite happy yet. Some of those wallpaper apps I mentioned above don't have the ability to fill an image over the whole desktop if its aspect ratio is misaligned with the screen. To make matters worse, my devices all have different aspect ratios, so a static server-side crop wouldn't do. I probably could've written some funky DOM JS to executed client-side and crop the image as appropriate. But I felt like having all the work done server-side for maintainability reasons, and it also just so happened that N8N has a node for image editing, and a super easy way to grab query and path params from the webhook input:

In my case I opted to construct my webhook like so:
https://n8n.host.co.za/webhook/abcdef/16/9Where abcdef is the webhook UUID, and 16/9 is the desired aspect ratio. I could've just as easily made the aspect ratio a query parameter, but I originally (erroneously) thought that X Live Wallpaper didn't accept query parameters.
Anyway, let's get to the fun part: figuring out how to crop an image to the desired aspect ratio. The "Edit Image" node in N8N takes 4 key arguments when in "Crop" mode:
- Width
- Height
- X-Offset (number of pixel columns from the left to start crop)
- Y-Offset (number of pixel rows from the top to start crop)
This will effectively allow us to specify any rectangle inside an image to be cropped out.

Suppose we have an image that needs to get cropped. Pictured to left, we assign variables to its width and height. (For now just assume the image is landscape - the algorithm I'm about to describe works in both cases). The aspect ratio will be w:h.
Now let's say our desired aspect ratio is ratio_w:ratio_h. The first step in my algo is calculating the target height. That is, if the width of our desired image crop were to stay the same, what would the height be? Or, how much should the height be adjusted (and only the height) in order to fit the desired aspect ratio?
This can be calculated with the following expression:
target_h = w * (ratio_h/ratio_w)As my accounting teacher used to say, "multiply the value by what you want over what you have". I want the height and have the width.
Now with the target height calculated we're getting somewhere. If the target height is less than the current height, then you can simply cut off the excess height and bob's your uncle. But that's the easy case. Below is the slightly trickier case where the target height is higher than the image height.

The target height is illustrated on the right of the image on the left. To make the aspect ratio fit, we need to reduce the width so that the ratio of the image height to the new (smaller) width is equal to the ratio of the image width to the target height.
So, from the outer dotted-line rectangle (w:target_h) we need to find the inner dotted-line rectangle (final_w:h). We already have h (the image width), so all we need to calculate is the final_w, which I did as follows:
let final_w;
if (target_h <= h){
  final_w = w;
}else{
  final_w = Math.trunc(w * (h/target_h));
}
Of course, if the target height is smaller than the image height, then the width need not change. But that's the easy case I discussed earlier. The much more interesting case (illustrated above) is where we need to calculate a new final width.
Again my high school accounting teacher is coming in clutch with the "what you want over what you have rule". We want the inner length (h), and have the outer length (target_h). The result of that is truncated (because pixels), and there you have it: the new crop width.
To calculate the x and y offsets I used these simple expressions:
x_offset = Math.trunc(Math.abs(w - final_w)/2),
y_offset = Math.trunc(Math.abs(h - final_h)/2),
Take the difference between the image width and the crop width, and then divide that by two. Do the same for the height, and you should have everything you need to create a centered crop for your desired aspect ratio with minimal data loss! Find a screenshot of my code and its output below:

Now all that's left is to plug the values into the "Edit Image" node, and watch the magic happen:

The source of the N8N workflow can be found right here, but note that it's a single snapshot (not a maintained repo).